A little surprise…don’t tell!

Hello everyone,

I’ve been making a little birthday present for my Great Niece. Her birthday isn’t until next month but I like to be organised you know. It’s a very simple, lined drawstring bag.

IMG_20151120_105338971

I absolutely adore this fabric. I bought it just after my Great Niece was born and always had in mind that one day I’d make her a bag from it. Soon she will be four years old. Those turtles are so cute! I lined  it with the same solid blue as I made the drawstrings from and it has a box shaped base so it’ll stand up on its own.

IMG_20151120_105413953

All in all, a good afternoon’s sewing. I really enjoyed that 🙂

Avis x

Cross Stitch Quilt SAL Stage 5

Good morning everyone,

Is it really three weeks since the last SAL progress update?

I don’t have much to show for the last three weeks as far as stitching is concerned but I did finish block six which I’d started last time.

image

All six blocks together now look like this.

image

You will all probably have guessed by now, because of the different format of this post and the photos with rubbish colours, that my laptop has finally given up. It actually overheated on Christmas Day. I’ll have to make do with this small tablet until I get sorted with a new laptop. The WordPress app isn’t this most friendly app to use but it is definitely better than nothing. Why it has rotated my photos without me asking it to I don’t know. I even turned my photos around and uploaded them again in the hope that it would turn them the right way up, but no. It also won’t allow resizing.

My time is not my own at the moment and it’s unlikely to get better in the near future so I’ve discussed with Claire the possibility of setting smaller goals for each SAL update. She is also otherwise engaged at the moment so we have decided to only stitch one block instead of two every three weeks. We are never going to achieve two blocks so the goal posts have been moved. I’ll make an extra special effort to get at least one block done every three weeks. One of these days I’ll catch up to Claire 😉

Anyway, the other stitchers in the group are also posting updates today so pop along to see what they’ve been up to. I’m stitching from the same design as Claire but everyone else is doing something different. Just click on their names below to see what they are up to.

ClaireGunCaroleEleanorAlisonJuleElizabeth and Wendy.

Our next update will be on 25th January 2015. We hope to see you then.

Avis

Someone has a birthday!

Hi everyone,

It’s my daughter’s birthday today so I just had to stitch a card for her. She loves to play the ukulele so that’s what I decided to stitch.

CIMG3497

I had to be a bit sneaky, going up to her room and taking photos of her ukulele while she was out at work, and then yesterday, stitching it while she was at home. I honestly don’t know how she didn’t find me sewing this. Every time I heard her footsteps I was pretending to be stitching something else until she went away again Smile.

I did find some inspiration from various images on the internet for a pattern but I couldn’t use them because I wanted a good likeness to my daughter’s ukulele. Thankfully, I had just the right thread colours in my stash. Some of the tuning pegs were facing different directions, I needed the correct number of frets, had to copy how the neck was attached and I also added some metallic threads for where the strings are wound around the pegs at the top. I lightly padded behind the stitching panel with some polyester wadding.

This is how it turned out.

CIMG3498

She really likes it so I’m very happy about that Smile. It’s always nice to give something handmade. If you want a free copy of my chart, just send me an email. The address is on the right of this page. You could then make your own little changes here and there to make it like your own ukulele.

I’ve also been making a zipper pouch. There is a link to the tutorial and more photos on my other blog Oh Sew Tempting.

CIMG3489

I hope you are all finding more time to craft than I am at the moment. I’m still far too busy for my liking.

Sewing Beside the Sea | All things made with my needle and thread

Update: Sandie from Tigermum’s Creative Corner has sent me photos of her fantastic card which she made from my chart. Isn’t it fantastic? She used DMC 4128 thread to acheive the wood grain effect.

Birthday_Mike_67

Here are her husband’s ukuleles. You can see why Sandie needed the correct thread now.

24 (1)

Avis x

Were you correct?

Happy Saturday everyone!

Did you guess what the mystery embroidery was in my last post? Here is another little teaser in case you didn’t. I bet you know now. Scroll down for the big reveal!

CIMG3244

Here it is in all its glory Smile.

CIMG3239

Every time I look at it I find another embroidery style or beads that I’d missed before.

Enjoy the rest of the weekend Smile.

Avis x

Eye Candy for Fabric Lovers and a Puzzle!

Hi everyone,

Be warned! This post is full to busting of fabric photos. I make no excuses, my jaw is still on the floor since my daughter arrived home from India last night. I have been spoiled, THOROUGHLY spoiled and I just had to share some photos with you so you can imagine what I will be getting up to over the next few months. You have got no idea how pleased I am that she travels light with a large suitcase!

She was very fortunate to be invited to spend two months with her wonderful local host who made sure she ate well, travelled widely and generally got a taste of what life is really like in India with lots of fun along the way. It has to be the best way to see a new country, sample local culture and customs and make the most of any trip abroad.

If you want to read more about her trip, you can find it in her blog Sun and Cake.

Where’s the fabric, I hear you call….

The instructions were simple, please bring me fabric, sari silk, cotton, batiks, anything that I can make into lovely things. Here are some of the sari silks which are all from Salem in southern India.

CIMG3208

I’m going to have so much fun with these.

CIMG3199

The photos really don’t do them justice. The shimmer and lustre and silky softness is gorgeous.

CIMG3196

Aren’t those tassels lovely?

CIMG3191

CIMG3203

CIMG3200

There are several designs on each piece and they are all huge!

CIMG3197

CIMG3205

Now for the cottons, also from southern India Smile.

CIMG3211

Exciting times are ahead!

CIMG3212

The quality is fantastic, perfect for patchwork and quilting.

CIMG3213

CIMG3264

CIMG3215

This style can be found on wall murals and works of art.

CIMG3217

This one has an interesting chequered weave which doesn’t show up to the naked eye.

CIMG3218

CIMG3219

CIMG3220

CIMG3222

Some are block or screen printed with one or more dyes.

CIMG3224

CIMG3223

CIMG3234

This one uses the batik technique with wax. There’s a whole rainbow of underlying colours.

CIMG3231

This one is hand painted with gold dye.

CIMG3227

The purple parade. You all know I love purple Smile

CIMG3238

And finally, some hand painted cottons from Jaipur in northern India.

CIMG3190

The pattern is very sparkly Smile

CIMG3188

The north Indian fabrics are the same good quality, brilliant for all sewing projects.

Now for your puzzle….

This was another of my requests and I really didn’t expect my daughter to find one, let alone bring one home. I’m going to show you a few detailed photos and I want you to guess what it is that she brought me for my birthday which was on Valentine’s Day while she was away. All of the embroidery has been done by hand.

CIMG3241

CIMG3243

CIMG3246

CIMG3242

CIMG3245

CIMG3248

CIMG3255

CIMG3262

CIMG3249

CIMG3252

CIMG3261

It would be impossible to show all of the details here so I’ve only picked out some of them. I have no idea how old it is but it is definitely not new. I can only imagine how many hours went into all of the stitching and I’ll treasure it forever Smile.

So, do you know what it is? Would you like to guess?

Have fun guessing!

And finally…. have you heard of the Holi Festival? If not, you can read about it here and see images here.

This is a photo of my daughter on the right and her host (the best tour guide in India) on the left during the Holi Festival. Fun, fun, fun Smile

Holi

Oh, to be young again!

Avis x

Pillow talk!

Hi everyone. I hope you have had a very productive, crafty weekend!

Following my post about my chevron pillow/cushion cover, I’ve received emails asking me how I made it. So I thought it would be a good excuse to make more covers and write a tutorial at the same time. My cover is quilted through three layers on the front and is fully lined. The closure is an envelope style. I’m sure many of you already make covers in your own way but this is my way. I like it because it doesn’t require buttons or zippers, though you could add them if you wish. Also, there are no fabric scraps left.

Here is my chevron version again, in case you missed it.

CIMG2933

And the quilting.

CIMG2971

Here goes….

Materials

You will need: 19.5 inches (half a metre) off the roll of each of the fabrics for the outside of the cover and the lining, assuming that it is 42 inches wide. Also, a piece of wadding/batting which is about 21 x 21 inches.

Method

1. Cut the selvedge edges off both sides of both pieces of fabric. I chose bright orange with white spots for the outer fabric and white lining.

CIMG2939

2.Lay the lining fabric to one side. Cut a square which is 19.5 x 19.5 inches from the outer fabric. Cut the remainder in half to give two rectangles measuring 19.5 x 12 inches approx. If yours is slightly bigger than 12 inches, that’s fine. It will give a larger overlap on the envelope closure.

3. Repeat with the lining fabric to obtain exactly the same sized pieces as you did for the outer fabric.

4. Take one rectangle of each fabric and place them right sides together.

CIMG2941

5. Sew a one quarter inch seam along one 19.5 inch side. Repeat with the other two rectangles.

CIMG2944

6. Lay these pieces on the pressing board with the outer fabric uppermost and the new seam at the top. Lift the uppermost fabric and press away from you so the seam is pressed towards the outer fabric.

CIMG2945

7. Now put the rectangles with wrong sides together and press along the seam so that the outer fabric is just peeping around the edge. This is so that the lining cannot be seen from the back closure of the finished cover. Repeat with the other rectangles.

CIMG2946

8. Now we are going to make the quilted front of the cover. Lay the wadding/batting flat on the table. Place the wrong side of the lining square on top of the wadding. Make sure it is lying square and smooth it out.

CIMG2950

9. There should be a small amount of wadding all around the edge of the lining which you should trim away so they are both the same size.

CIMG2951

10. Carefully, turn the double layer square over and place the outer fabric on top. You should now have lining on the bottom, wadding in the middle and the outer fabric on top.

CIMG2952

11. Sew along one side through all three layers, close to the edge. This will anchor this side ready for quilting. Place pins at intervals through all layers.

CIMG2953

12. Quilt as desired. For this cover, I folded my square in half and sewed a line along the fold from the stitched edge to the opposite side. I then attached my little gadget to the machine so that I could sew lines parallel to the first one at intervals of 1.5 inches.

CIMG2957

13. I then folded my square in half diagonally, sewed a line along the fold and repeated the paralell lines process.

CIMG2969

14. Now, all we need to do is sew all of the pieces together to make the cover. Lay the quilted square on the table with the right side uppermost. Place one of the rectangles with the lining uppermost at the edge of the square. Pin in position.

CIMG2961

15. Now pin the other rectangle to the other side of the square. If you are using fabric that has a pattern with a right way up, now is the time to change positions if you need to. Don’t wait until after it has been sewn together.

CIMG2963

16. Sew all the way around the cover through all layers. Take care to stitch slowly over the thicker parts where the fabrics overlap. If you have a serger, this stage will be much faster as you will be able to sew a seam and overlock the edges at the same time.

CIMG2964

17. I don’t have a serger so I switched to zig-zag stitch and sewed around the outside edge of the seam. Trim the edge and snip across the corners.

CIMG2967

18. Turn the cover to the right way, press the edges and insert a pad. Stand back and admire Smile.

Here is my finished cushion. I hope you like it.

CIMG2968

I couldn’t stop!

CIMG2972

I quilted this one with another different pattern, keeping it simple.

CIMG2973

Here they are all together.

CIMG2976

Go on then, have a go. Send me photos if you make one and I’ll put it here with mine. Any questions, just ask. I’ll also be putting this tutorial on my quilting blog Oh Sew Tempting as it is quilting after all Smile.

Last but not least, I’ve just noticed that the October Made It Challenge has begun over at Woolhogs. Entries are already coming in. Pop over to take a peep!


Have fun!

Avis x

  • Join 487 other subscribers
  • My Tutorials

  • Visit my quilting blog

    Oh Sew Tempting blog
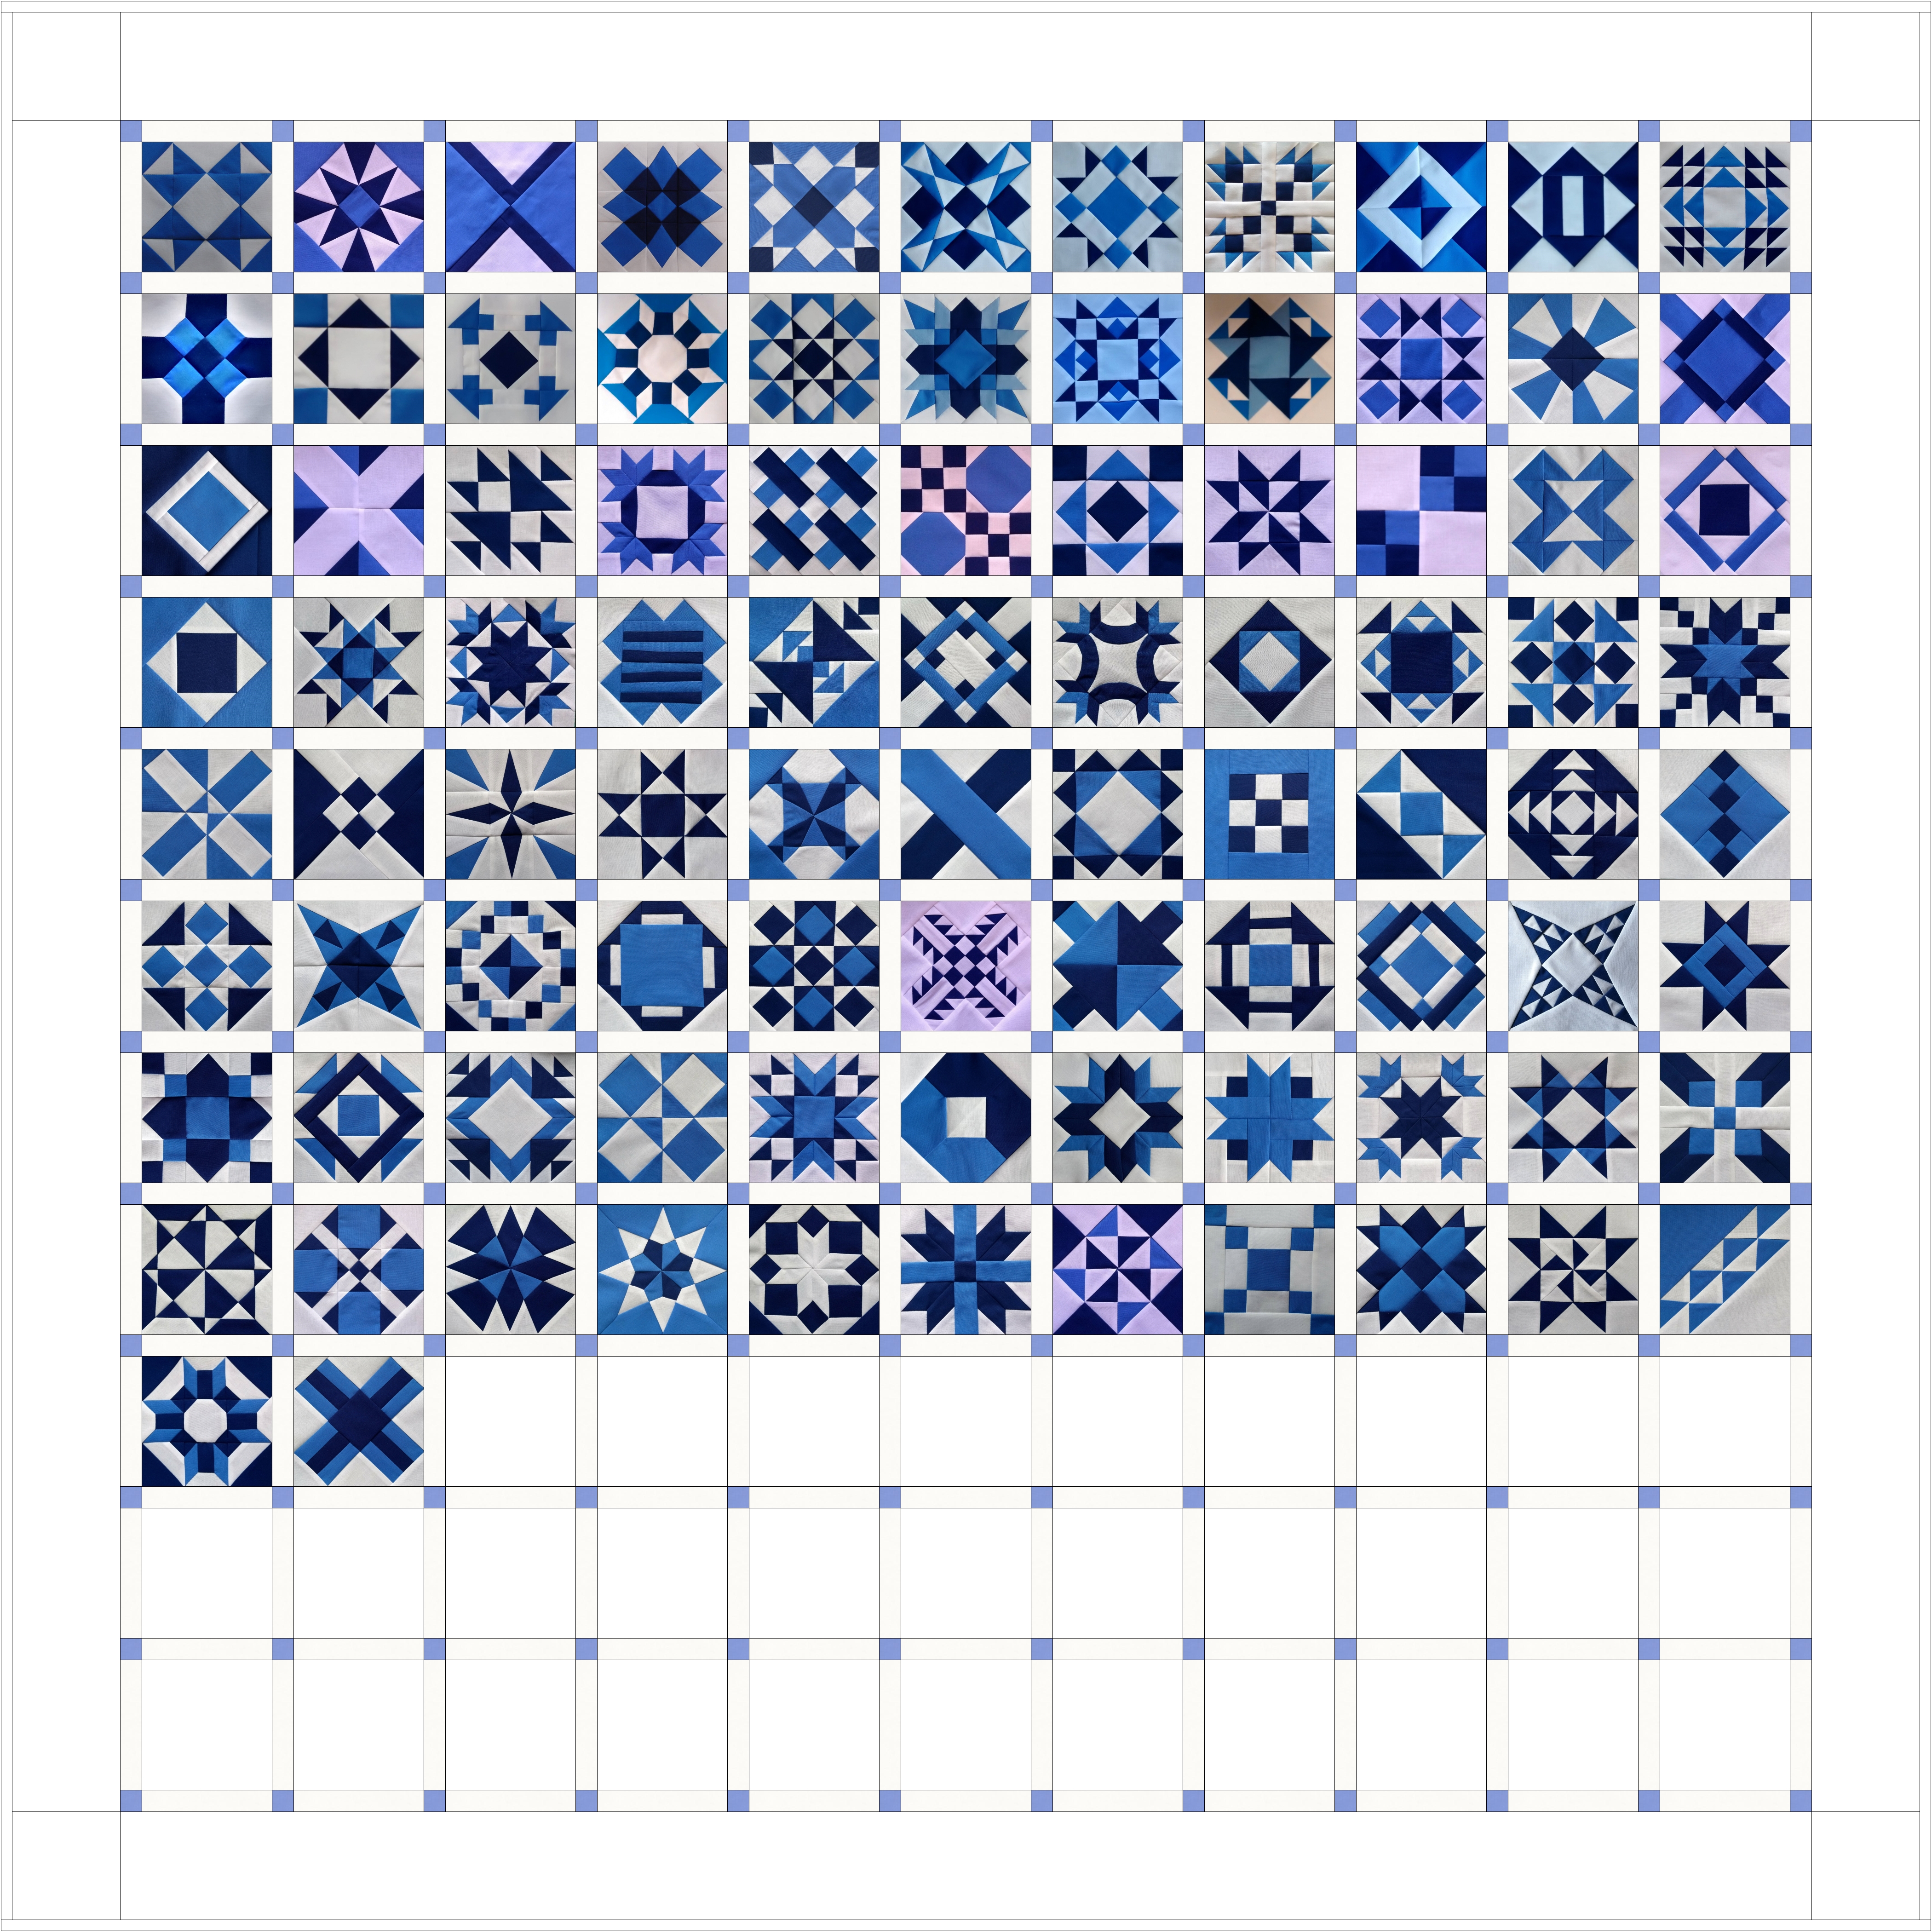
  • My version of the Loyal Union Sampler in progress.

  • Recent Posts

  • Crafty Eye Candy

  • Previous posts

  • My community

  • Copyright 2011 – 2019

    The content of this blog including all text, photos, tutorials etc. belong to me. Thank you for respecting my copyright and always linking back to the original source.

  • Meta